
MacOS and iOS work well together. If your desktop and phone both come from Apple, you have many useful functions at your fingertips.
Let’s explore the best ways you can use both devices side-by-side.
1. Copy and Paste Content

It’s easy to move between your Apple devices seamlessly, thanks to a special set of features called Continuity. The Universal Clipboard feature is part of this set and it allows you to share clipboard content between your Mac and iPhone.
To copy-paste text and graphics between the two devices, you’ll need to ensure that on both of them:
- You’re signed in with the same iCloud account.
- Bluetooth is turned on.
- You have enabled the Handoff setting. On macOS, it’s called Allow Handoff between this Mac and your iCloud devices and lives under System Preferences > General. On iOS, you’ll find it listed as Handoff under Settings > General.
After that, you can copy content on your Mac and paste it in anywhere on your iPhone, and vice-versa.
2. Resume Tasks
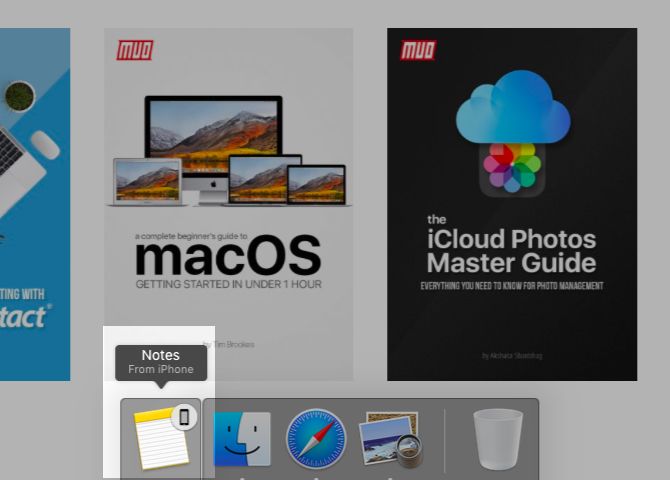
As long as you have the settings outlined in the above section in place, you can also stop tasks on one device and resume them on another.
For example, you can start typing a note in Notes on your iPhone and finish it within Notes on your Mac. The Notes app active on your phone gets a special icon in your Mac’s Dock at the far left. (Look for the Notes icon with a tiny phone attached to it.) Click on that Dock icon to resume typing the note.
If you’re resuming a note from Mac on your iPhone, you’ll have to tap on the Notes banner that appears at the bottom of the app switcher screen. To reveal this screen, double-press the Home button on your phone.
This Apple feature, Handoff, works with various apps including Mail, Safari, Reminders, and Pages.
3. Drop Files, Webpages, and More
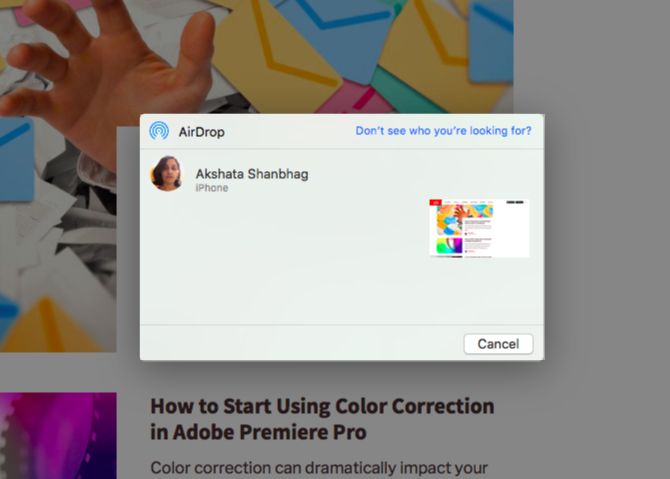
To share files between your Mac and iPhone, you can use AirDrop, Apple’s in-built file transfer utility for desktop and mobile devices.
After you enable Wi-Fi and Bluetooth on both devices and ensure that they’re discoverable, sharing is simple. (The devices don’t need to be on the same network for AirDrop to work between them.)
To begin sharing, select the Share > AirDrop option from the context menu of the file or folder you want to send from your Mac to your iPhone. Then select the destination device when it shows up in the Share dialog.
If you’re transferring files in the other direction, first select the ones you want to send. Then tap on the Share button to reveal the AirDrop option in the Share menu.
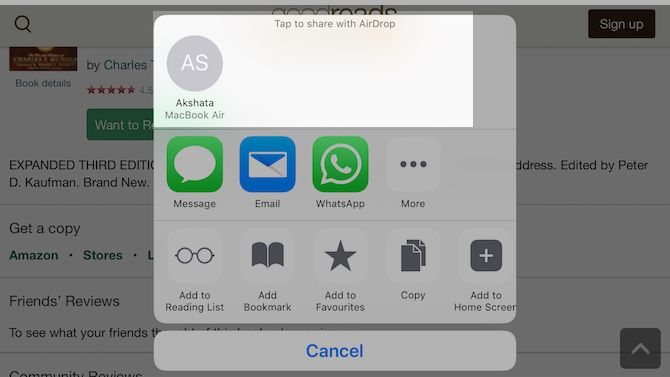
You can transfer not only files and folders with AirDrop, but other types of data as well. This includes webpages, notes, contacts, and photos.
Keep in mind that AirDrop can be temperamental at times. If you have trouble using it, we have a few tips to troubleshoot your file transfer woes.
4. Play Music, Movies, and TV Shows
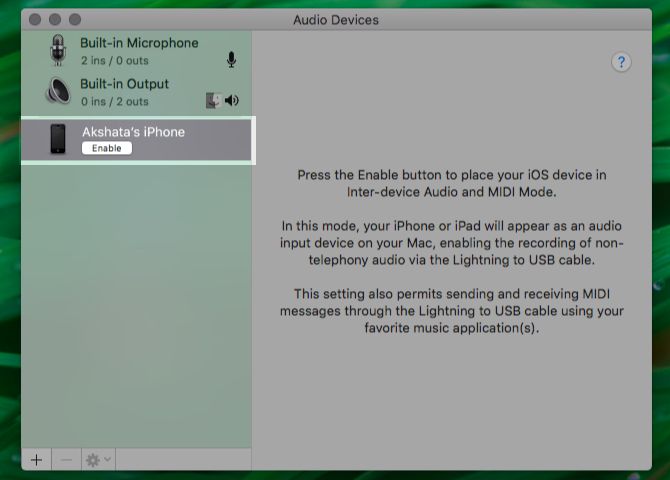
You can play audio from your iPhone on your Mac with a Lightning USB cable. But if you want to stream (or mirror) content wirelessly from your Mac and iPhone, you can use Apple’s AirPlay feature. The catch is that neither device can act as an AirPlay receiver. But an Apple TV can. Its price starts at $149.
If you don’t want to spend that much money, you can get a piece of software like Reflector ($15) instead. It simulates an AirPlay receiver and lets you stream content from your iPhone to Mac. To stream content from your Mac to your iPhone, you can use StreamtoMe.
Our beginner’s guide to AirPlay will tell you everything you need to know about streaming and mirroring on your Mac and iPhone.
5. Share an Internet Connection
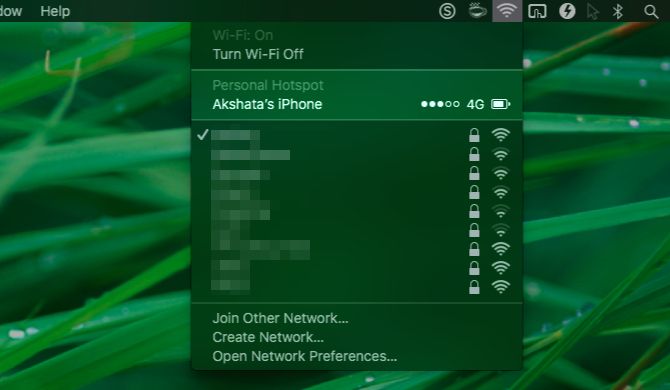
You need a simple tweak to turn your Mac’s internet connection into a Wi-Fi hotspot. First, head to System Preferences > Sharing and enable the checkbox for Internet Sharing. Then click on the Start button at the confirmation prompt.
To use your iPhone’s internet connection on your Mac (known as tethering), you’ll need to enable the Personal Hotspot option under Settings on your iPhone. Your mobile device will then show up in the list of networks on your Mac, and you can connect to it.
Instead of Wi-Fi, you can also use Bluetooth or a USB cable for tethering. Our iPhone hotspot guide can help you understand the ins and outs of the hotspot feature. Your experience of this feature might vary depending on your carrier. If you face any issues, go through our troubleshooting tips for iPhone tethering.
6. Close Safari Tabs

If you enable iCloud sync for Safari on your Mac and iPhone, you can close tabs open on one device from the other. To set up syncing:
- On macOS: Visit System Preferences > iCloud and enable the checkbox for Safari.
- On iOS: Go to Settings > Apple ID > iCloud and flick the toggle switch for Safari to the right.
After you make these changes, the Safari tabs from your iPhone show up in the Safari tab switcher on your Mac. You might need to scroll down to see them.
(To reveal the tab switcher, hit Shift + Cmd + Backslash (\) or click on View > Show Tab Overview).
To close one of the iCloud tabs, click on the Close button that appears when you hover over it. If you want quick access to iCloud tabs, keep the Show iCloud Tabs toolbar button handy.
Now, on your iPhone, you’ll find your Mac’s Safari tabs listed below your active tabs in the tab switcher. To reveal the tab switcher, tap on the Tabs toolbar button at the bottom-right. Slide the tab name to the left to reveal its Close button.
7. Unlock Your Mac Using Your iPhone
You’ll need a third-party app for the convenience of using your iPhone’s passcode or Touch ID fingerprint to unlock your Mac. You can try Tether (Free) or FingerKey ($3). Unlox ($4), formerly known as MacID, is another great option.
If you have an Apple Watch, you can use that to unlock your Mac simply by sitting in front of it. That’s the Auto Unlock feature in action. Speaking of which, you might be missing out on more Apple Watch features like this one.
8. Type on Your iPhone Using Your Mac’s Keyboard
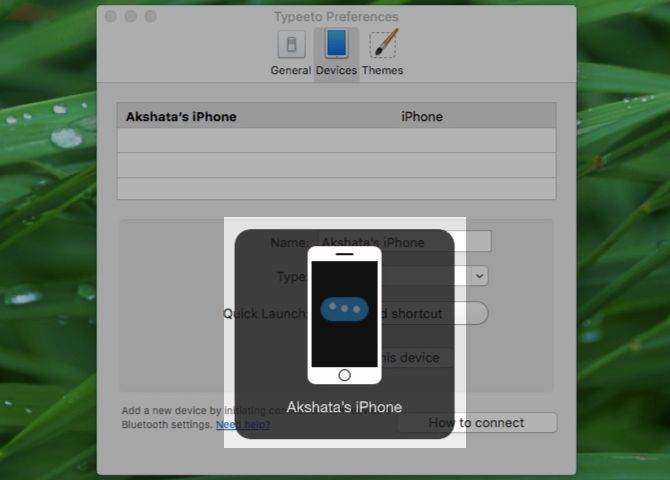
If an iPhone app you’re typing into has a Mac version and supports iCloud sync, anything you type into the app on your desktop shows up in the mobile version soon and vice-versa.
Even if that’s not an option, a Mac app that simulates a proper Bluetooth keyboard can work. We recommend Typeeto ($20), which comes with a free trial. Our guide to typing on your iPhone with your Mac’s keyboard will show you how such software works.
9. Make and Receive Calls From Your Mac

You can receive and make both cellular and FaceTime calls on your iPhone from your Mac. To make this work, your Mac and iPhone must be connected to the same network and signed in with the same iCloud and FaceTime account. You also have to enable these settings:
- On macOS: Facetime > Preferences > Settings > Calls from iPhone
- On iOS: Settings > Phone > Calls on Other Devices > Allow Calls on Other Devices (From the same section, enable the the toggle switch for the Mac in question.)
Now when you receive a call on your phone, you’ll see a notification for it on your Mac. You can accept or decline the call from the notification itself.

To make a call from your Mac, first right-click on a phone number or its link from any app. Next, click on the Call [Number] using iPhone option in the context menu and then the Call option in the alert that appears.
10. Send and Receive SMS From Your Mac
You can use your Mac to send text messages using your iPhone if you enable Text Message Forwarding from Settings > Messages on your iPhone.
You also have to ensure that you’re reachable at your phone number and email address on iMessage. To do this, put a check mark next to the relevant contact details in the Messages app settings:
- On macOS: From Messages > Preferences > Accounts
- On iOS: From Settings > Messages > Send & Receive
Now you’re all set to send SMS from your Mac. Start an iMessage conversation as you normally do, but this time see if you can select a phone number to send the message to. With text forwarding in place, you should be able to do so.
Mac Plus iPhone Equals Harmony
As a Mac user, you don’t always have to buy an iPhone (and vice versa), but if you do so, it can prove quite convenient. You can use a mix of native features and third-party apps to move effortlessly from your Mac to your iPhone and back.
Speaking of seamless transitions, you must take a look at these iOS apps that can power up your Mac experience.
Read the full article: 10 Handy Ways to Use Your Mac and iPhone Together
via MakeUseOf https://ift.tt/2wwsicv
Comments
Post a Comment